

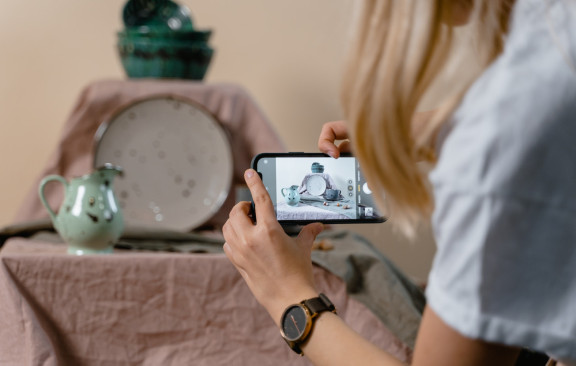
A picture is worth a thousand words. This oldest of adages never rings truer than when applied to online selling. Having high-quality product photos to showcase your inventory online is of paramount importance to your selling success. In fact, attractive imagery is probably the single most basic and essential elements of any online store.
Even if you're dropshipping your products, and can't actually take a photo of the inventory, it's important to try and get a photo from the supplier. Suppliers can sometimes be stubborn on this point. So if they refuse to furnish you with a photo, ask for a sample so that you can take one yourself.
Of course, once you've taken that photo, you may not know how to maximize a product image's selling potential. And that's the topic of today's SaleHoo blog post: how to get great photos of your products.
Photography 101

Good photography depends on a combination of factors, including your equipment and the environment you're shooting in. Let's take a look at the role each of these factors.
A camera
You can't start taking marvelous product photos until you've got a camera to shoot with. Take a look at a few of the best brands and models below.
Though it's better to use a decent camera, you can actually take very good pictures with some smartphones. Many smartphones come equipped with useful manual settings like exposure control, white balance, and post processing.
If you learn to operate these tools, you'll increase the quality of your pictures. If your smartphone doesn't have such embedded functionality, (forgive my cliché) there's an app for that:
All of the above are tools that will allow you to fiddle with your phone's camera settings manually. Some even have photo editing controls for post-production work, and sharing buttons to distribute your product photos across social media channels.
Lighting
Lighting is a complex subject and could in fact be an extensive article all its own, or a book for that matter. There are, however, some basics that anyone can pick up.
The first thing to note is that there are many different types of lighting:
- Sunlight
- Artificial lighting
- Spotlighting
- Back lighting
- Diffuse lighting
- Ambient lighting
- Hard Lighting
- Rim lighting
- Side Lighting
- Top lighting
And those examples are just a few. If you want to become a photo master, do some research on every type. For the purposes of product photos, we'll mainly be talking about diffuse, top, and back lighting.
Diffuse light, also known as "soft light," is light that's been reflected off of another surface, such as a white background, to spread the focus a bit thinner. Top and back lighting are simply light sources aimed from those directions.
In general there are a few steps that you want to follow in lighting subject for product photography.
- Use lots of diffuse light.
- Back light the subject.
- Top light the subject.
- Place the subject in front of a white background to reflect the light and eliminate as much shadow as possible.
- Make certain there's no glare and very little shadow—just enough to show definition.
- If you're using natural (sun) light, wait for a partly sunny day to shoot outdoors. Or, use a large window for indoor sunlight, and follow all the above directions using white paper for reflection.
- DO NOT mix sunlight with artificial light.
- For more information on DIY lighting, check out this YouTube tutorial.
A tripod
Tripods are necessary for taking clear pictures without blur, especially if you're using a longer exposure. There are even tripods for smartphones available.
Wide ppertures
Apertures are the openings in a camera's lens which determine the amount of light they take in as well as the depth of field. Depth of field, in turn, regulates sharpness between the foreground and background.
The ideal aperture to use for product photos is a wider one, because it makes for sharper images. Apertures are measured in f-stops (written as "f/" in front of a number). This is a measurement unique to photography, and an f-stop starts low and goes higher. The lower an f-stop, the wider the aperture. So f/2 is a good place to start, assuming your camera and lens are capable of it. If not, choose the lowest aperture available.
Aperture is adjusted differently on each camera, so check your manual for specifics. Often you'll use a hand dial on top of the camera. After you've set your aperture, experiment with the photos to see what looks best, and adjust the aperture as necessary.
A clean subject
You don't want smudges and dirt all over your photo, do you? Dirt, dust, fingerprints, and other markings are quite likely to show up in high-definition digital photos, so you need to give your subject as thorough a scrubbing as you can before taking pictures.
It's also smart to handle the subject with latex gloves to avoid adding to the problem.
The pictures
Once all the prep work is finished, just start snapping shots. Experiment with angles and lighting. Take plenty of photos so that you have a lot of choices.
And above all... Have fun! You're an amateur professional photographer now. Get into it!
Alternative option: Create photo-realistic digital images

If you don't feel like going through all the effort of learning to use your light sources and what have you, you can also create photo realistic images by paying a specialized designer.
These professionals can create 3D images of a product from a basic sample photo. They don't even need to see the product in person to create the images.Just take a look at how realistic these images can be.
It can run you anywhere between USD $50 to $400 to have the job done correctly. You can use sites like Fiverr or Upwork to find graphic designers who can create photo-realistic 3D images. Make sure to get a peek at their portfolios before paying. That way, you can know what kind of quality you can expect.
I just can't emphasize it enough, but your products are at least 5 times more likely to sell if you have a decent product image accompanying your sales copy. It really is imperative that you get the best quality possible for all of your offerings.
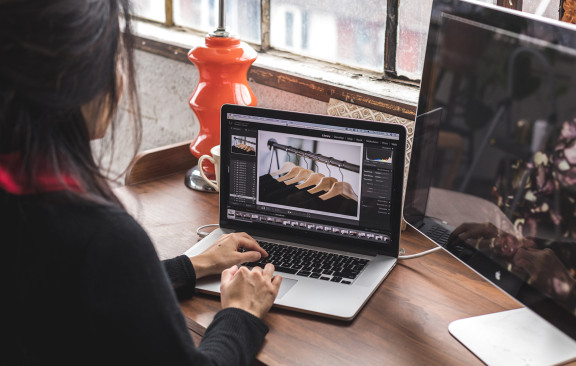
Want to learn more about producing high-quality product images? Learn to edit your pictures with Windows Live Photo Gallery.


1 Comments